Documentation for BeBe
- Getting Started
- Welcome
- Before getting started
- Installation
- Demo Installations
- Plugin Installation
- Theme Options
- Widget Settings
- Menu Settings
- Multilingual Support
- Final Settings
- Page Templates
- Template Landing
- Template About
- Template Contact
- Elementor Widgets
- Custom Widgets
Getting Started
Welcome
Thank you for purchasing The BeBe Wordpress Theme. If you have any questions that are beyond the scope of this help file, please feel free to email – info@aletheme.com or contact us on our Dedicated Support Platform. Thanks so much! The HTML code is 100% responsive and adaptive to different devices. The code is valid and cross browser on each modern browsers. It used the HTML5 and CSS3 technics.
In this user guide you will find all required information to get your site up and running: starting from theme installation and setup, to usage of different post types, page templates and shortcodes.
This file is really extensive so you might think the theme is hard to use, actually it’s not, you probably just might jump to the options page and explore everything yourself, this file is more of a reference work if you do not know what to do, or if you are not familiar to WordPress.
Information about Updates and New Themes are always announced on Twitter and Facebook. Twitter updates are usually more up to date, Facebook updates are more detailed and easier to follow :)
- Online Documentation - https://aletheme.com/support/
- Twitter - http://twitter.com/alethemes
- FaceBook - https://www.facebook.com/alethemes
- Instagram - https://www.instagram.com/aletheme_agency/
- VK - https://vk.com/aletheme
- Youtube - https://www.youtube.com/channel/UCUYdHeMsvMm6TgNsRg2KWfQ
We hope you will enjoy working with our themes. Yours sincerely, CRIK0VA.
Before getting started
Please note that this theme is not harder to use than any other premium theme with advanced functions. Moreover, we believe that it’s even much easier! And there’s a good reason for that: amount of time that we invested in designing its interfaces, page templates and theme options is simply immense
Nevertheless, please note that this User Guide does NOT cover basic WordPress usage. Therefore if you are not a confident WordPress user, please get accustomed with it BEFORE proceeding to this manual and theme!
First of all please google “wordpress basics” – plethora of articles and educational videos are available!
Here are some links that will help you to become more confident with WordPress:
- First Steps with WordPress (this is one of most complete guides): http://codex.wordpress.org/First_Steps_With_WordPress
- Explanations on most common WordPress terms: http://en.support.wordpress.com/lexicon/
Seriously. If you do not want to spoil your experience with any Premium Theme, get accustomed with WordPress basics first!
Installations
Dear customers, first of all you need to install the Wordpress CMS. If you have already done it and have a new wordpress site, you can start to install our theme. You have 2 ways to install our awesome wordpress theme on your CMS.
-
Using the Upload section in Admin panel.
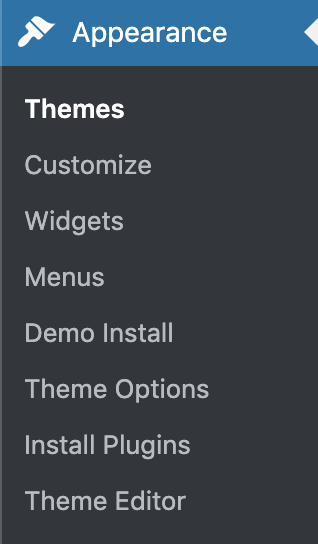
To install this theme, go to WordPress Admin Panel -> Appearance -> Themes -> Install Themes -> Upload -> choose zip file with the theme -> Install Now.
Please note that some hostings have a restriction on a size of a file that you are uploading. If any warnings appear, most probably, your hosting has file size limit. And the theme .zip file is too large to be uploaded via WordPress Panel. You can try contacting your hosting provider and ask to ease this restrictions.
Issue? WordPress Shows you this error - "Theme is missing the style.css stylesheet error"? In that case read the article, please. (https://help.market.envato.com/hc/en-us/articles/202821510-Theme-is-missing-the-style-css-stylesheet-error)
-
Using FTP (manually upload).
You can use any FTP client (ex. FileZilla, Total Comander etc.). Connect to your hosting server, select the site root folder, with wordpress CMS installed. Open the folder
/wp- content/themes/ . In this folder we will install the theme. Unzip the theme archive and upload the theme folder in the opened folder “themes”. After go to Themes section in Admin Panel and activate the new theme. Attention! Theme will work fine on the vast majority of correctly installed and configured WordPress sites without any additional settings. However on some (very rear) hosting configurations you can notice that images on your site are not displaying. If you are experiencing this issue, please follow these steps to fix it:
- Make sure that theme installed strictly to “{wordpress install directory}/wp-content/themes/” folder.
- The folder “{wordpress install directory}/wp-content/uploads” must be created. On some hostings you’ll need to set its CHMOD to 755, on others – to 777.
After Theme installation, you can start to import the predefined demo examples. On our Youtube Chanel you will find a lot of video tutorials that shows how it works.
If above steps did not yield any results, please don’t hesitate to address this issue directly to your hosting company. Since this is most likely a server-related problem, we will not be able to help you!
Attention! To assure your permalinks are being rendered correctly (the web-site does not return “404 Not Found” error) after switching the theme, follow “Dashboard > Settings > Permalinks” and click “Save Changes”.
Demo Installations
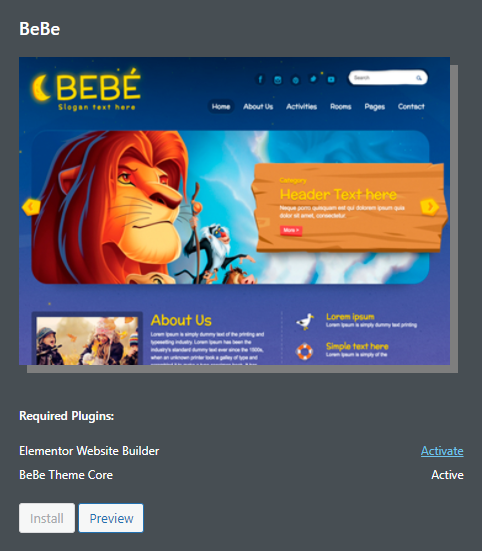
Once you installed and activated the BeBe Theme, you will see a notice in Dashboard about required plugins.

You must install and activate the BeBe Theme Core plugin. Just check the checkbox near the plugin and press "Begin installing plugin" loke it shows on the previous image. Also Activate the plugin. After in the Appearance section will appear the Demo install page.
On that page you can manage all available demos. Press the istall button to import the necessary demo. It will import data and images automatically. In case you will install another demo, the previous will be automatically removed.
We strictly recommend to use:
- use a fresh install of WordPress for importing Demo Data. (no media, not posts, no pages, no plugins.)
- The upload process can take up 5 minutes. So please, be patient and do not close the page.
- Before importing Demo Examples you must install required plugins.
 Hosting/server Requirements
- PHP Version minimum 7.0 Recommended PHP 7.3
- Memory Limit minimum 256M. Recommended 512M
- Executations Time 300ms
- The theme will work on any hosting, but the import tool for specific demos needs server power to import and cut images. In case your hosting is slowly, some demos can be imported with errors. In this case try to contact our support, and we will take a look to find a solution.
Plugin Installation
After theme activation it is advised to install default theme plugins:
- BeBe Theme Core (required)
- Elementor (required)
Simply select all plugins and install them. Then activate the plugins with help of “Bulk action”:
On our Youtube Chanel you will find some tips for better using of custom plugins.
Theme Options
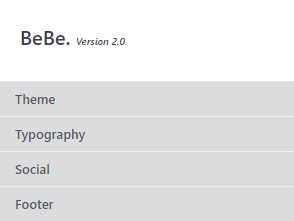
Theme Options panel is the main setting panel in BeBe theme. You have some important Tabs with different settings.
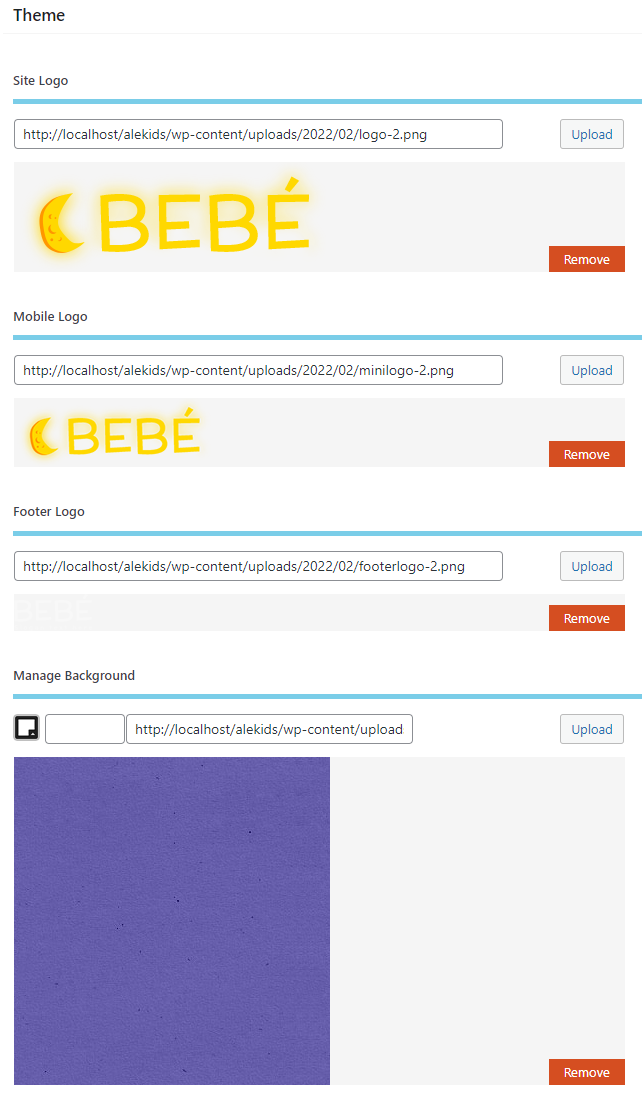
Theme Section
In The theme section you should upload data about your brand, for example Logos of your company. You can upload the default logo for header, and also the same logo but in retina size (2x bigger). You can upload the footer logo.
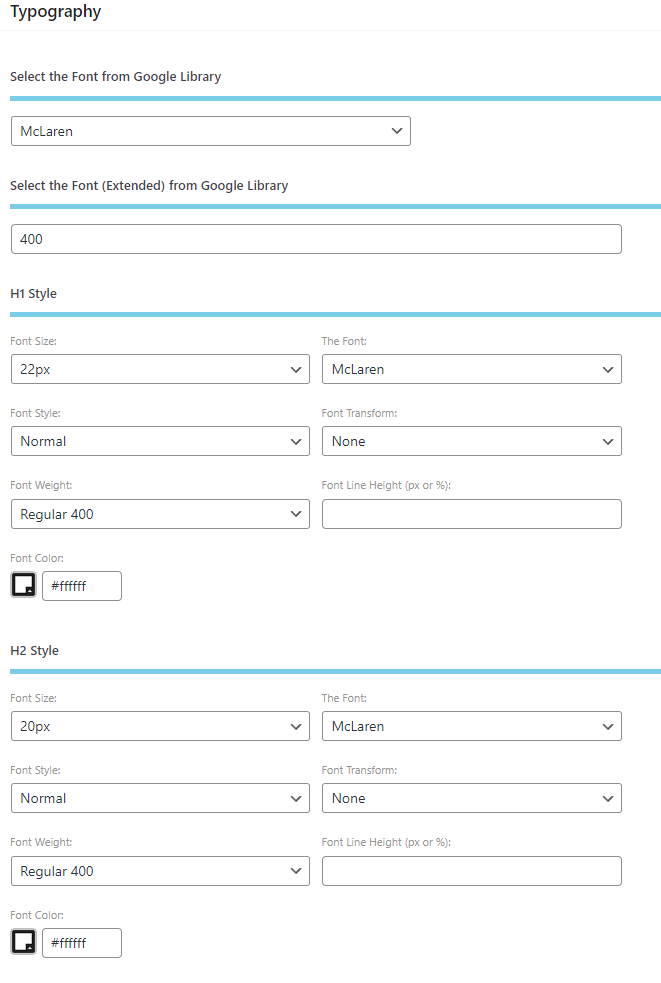
Typography Section
To manage the typography on your site you should use this tab. Here you can specify what fonts to load from Google Fonts, and specify the typo for H1-H6 and body elements.
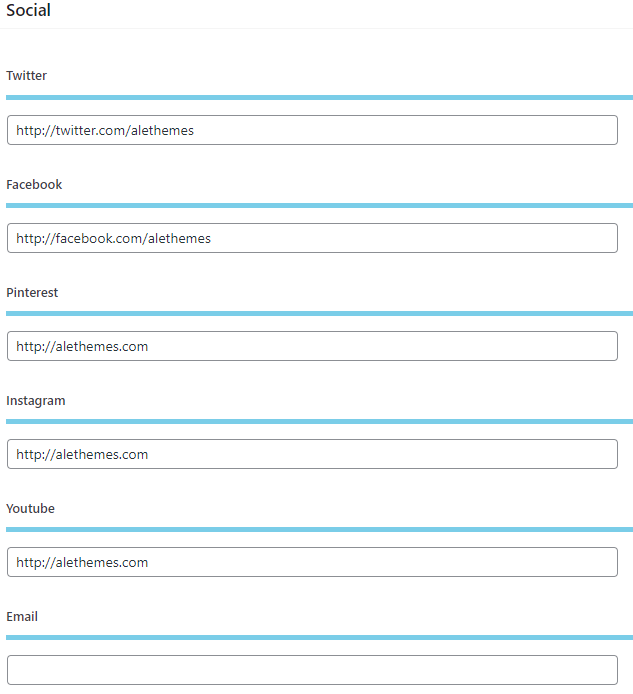
Social Section
Specify Social profiles links and check the share platforms for your site.
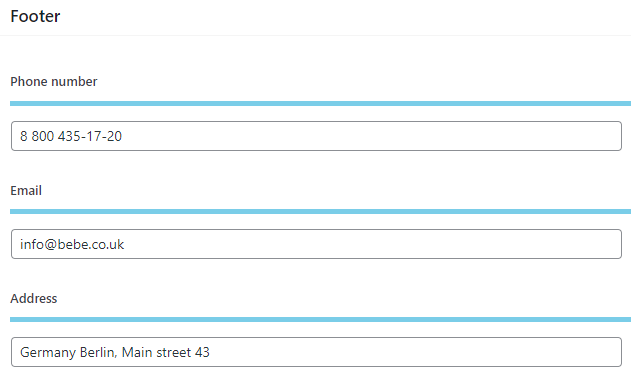
Footer Section
Information from footer can be edited in that section, like phone, email, address or copurights.
Widgets Settings
The theme comes with custom widgets. Bellow you can view what sidebars are supported by BeBe.
- Main Sidebar - Default sidebar.
Our Theme also comes with custom widgets like:
- BeBe Recent Posts
Managing the widgets is very easy, you just need to drag and drop elements on the sidebar section, and play with options in widgets settings. That’s all. More tips on how to manage sidebars and widgets watch on Our Youtube Chanel
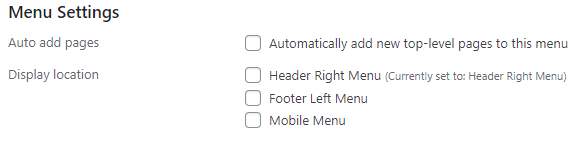
Menu Settings
Managing menu is very simply, you need to use the default wordpress menu section. Go to Appearance - > Menu. Create a menu. And select the location. Add items to your new menu by drag and drop. Save the menu. All Done, now our menu will show on the site.
- Header Left Menu
- Header Right Menu
- Mobile Menu
Multilingual Ready
The theme is multilingual ready. If you are going to translate the site in your native language, just install the poEdit soft and translate the file from /lang/ folder. More info on how to translate wordpress theme you will find in google our our support forum - http://alethemes.com/docs/
Final Settings
Go to Settings -> Reading.
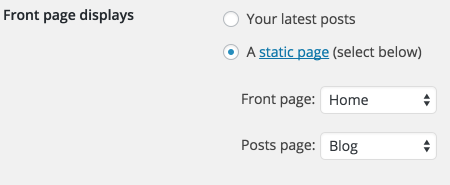
Front page displays must be A static page (select below)
Front page – Home
Posts page – Blog
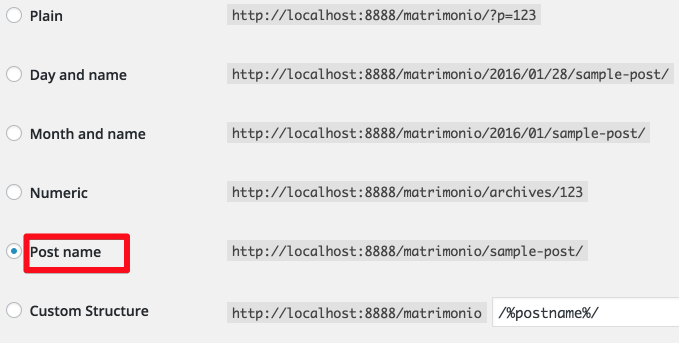
Go to Settings -> Permalinks. It must be set to Postname
Custom Page Templates
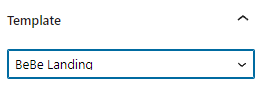
Template Landing
It's a template without wrapper.
Template About
It's a template with option to select left or right sidebar.

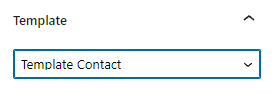
Template Contact
It's a template with option to select left or right sidebar.
Elementor Custom Widgets
Custom Widgets
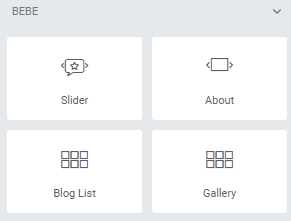
The theme comes with 4 Custom widgets for Elementor Page Builder. Here you can check the full list of available shortcodes.
Deep theme customization (beyond theme options) can be done in CSS . If you are familiar with it, you can use FireBug (FireFox plugin for web-developers) or Chrome web developers tools to define which style should be changed and where.
Once again, thank you so much for purchasing our theme. As I said at the beginning, I'd be glad to help you if you have any questions relating to this theme. No guarantees, but I'll do my best to assist. If you have a more general question relating to the themes on ThemeForest, you might consider visiting the forums and asking your question in the "Item Discussion" section.